Thursday, December 22, 2011

Undercover Buttons... How to make covered buttons into earings...

A while back I saw this idea and knew I had to try it... Turning covered buttons into earrings!  It's supper easy... Here's the how to...

Using the template(on the back of the covered button package) cut out two circles out of fabric...
Next... remove the metal clip (I used pliers for the job)...
Then starting from side to side... wrap fabric around the button(right side out) ...making sure to catch the fabric under the metal prongs... all the way around...
Now you are ready to snap on the back... I can usually push the back on with my fingers... but a spool of thread works too... 
Almost done!  Repeat the last few steps with another button so you have two...
The article I read said this glue was the best one for the job... I found it at Michael's... It is kind of gloppy, so I recommend squeezing a small amount out on a piece of scratch paper... then dip your earring post in the glue... (the posts and earring backs I also purchased at Michael's)
Stick the post on the button back... and let sit for 24hrs... 
Then you've got yourself a new pair of earrings... Here are some of the earring I did...
The possibilities are endless... the bottom left pair I layered some lace over the fabric... 
I found these square ones at an estate sale... too fun! 

These earrings were so fun and easy to put together... anyone could do it!  Even if your not a seasoned crafter... this would be a good one to try...  Ruined your favorite shirt?... turn it into a pair of earrings...  Happy Crafting!
***Jennifer
P.S. Keep up on my latest projects by Following me....

Sunday, December 18, 2011

Knitted Gifts...

I started knitting a couple of years ago... and it has quickly become an addiction... Being so easily portable, I can take it anywhere(unlike sewing)...  I take any opportunity that I can to snatch up materials... manly estate sales...  I purchased a box of knitting patterns recently for a $1 ... So my next knitting project came from that treasure trove... 

1961 Pattern book...
I could not resist knitting these slipper for my kids for Christmas... they bring back memories of my Grandma, because she knitted me a pair of slippers every year...
Here are the girl's

And these are the boy's
 Since it is well known that I have a home for unwanted crafting items...  My next knitting inspiration came from a gifted knitting book... I just had to knit them for my friend's daughter... I can't wait to see them on her!

These came from a 1955 Bernat Handicraft magazine...
Well these are the knitted gifts I've done so far...(at least the ones I can show to prying eyes)...  If you love knitting like me, I encourage you to look at your local estate sales/garage sales!  You can pick up knitting items for pennies vs. dollars it cost you at the craft store...  Happy Knitting!
***Jennifer

Saturday, December 17, 2011

Going A Little Ruffle Crazy...

So... Those of you that follow me, know that recently I made a fabulously easy ruffled tree skirt...  Well... being the thrifty person that I am... instead of throwing away my leftover scraps from that project, I decided that I had enough to piece together a table runner...
I think it turn out pretty cute...

I layered the ruffles from the outside in... ending in the middle...
 While I have gotten a little ruffle crazy... it ends here... I've put away the glue gun for now...  If you missed the tree skirt post you can click here.  Happy Holiday Crafting!
***Jennifer
P.S. For a peek at me DYI snow globes look here...

More variations for the folded wallet...

I decided to make more of the paper wallets... and thought it would be fun to experiment with different textures...
Fabric...

Vintage shelf paper...

Tissue paper...
I did reinforce all of these with the iron on vinyl... If you missed my earlier wallet tutorial you can click here...  I will be posting more gift ideas... so check back with me soon...  Happy Crafting
***Jennifer

Thursday, December 15, 2011

Paper Wallets...

This week I've been working on Christmas presents... Here is a fun idea I found... Paper wallets!  I'm going to make them for the boys(friends/family) in my life...  The supplies you need for this project are...
1- 8.5X11 piece of paper
1-8.5X11 piece of iron on vinyl
Iron
Ruler
Scissors
Pencil

First I started out with an 8.5X11 piece of paper (I used the comic section of the newspaper)
Then I cut out a piece of Iron on Vinyl the same size(8.5X11)  I found it at Joann's... It's in the same section as interfacing by the yard... 
Then peel the vinyl away from the backing... place on top of your sheet of paper tacky side down... and smooth out any wrinkles with your hand... 
(It would also be a good idea to check for any lint caught in between, and make sure it is lined up properly.)
Place the vinyl backing shiny side down on the paper(sandwiching the vinyl between)... and iron on a med/high setting without steam... make sure you get all of your edges... 
Peel off the backing and now for the fun part! 
Folding...
You'll also want to press your finger along the fold(s) to make crisp edges...


Open the paper back up(vinyl side down)... bring the outside edges to the center crease... 
 Again making crisp folds... 

 Then fold in half again... And then fold in half lengthwise...

Open up all folds again... and place vinyl side down... 
Next... using your ruler, draw a half inch line on each of the side creases
(there should be six) ... then cut your line with scissors...
Fold in the second and fourth segments, on each side...
 Now at the bottom/ center fold line(the crease down the middle) ...draw a line(vertical) 1/8 of a inch from the center fold on both sides, to the first horizontal fold...
Then on the second fold(horizontal) draw a 1/4 inch line at the center fold...
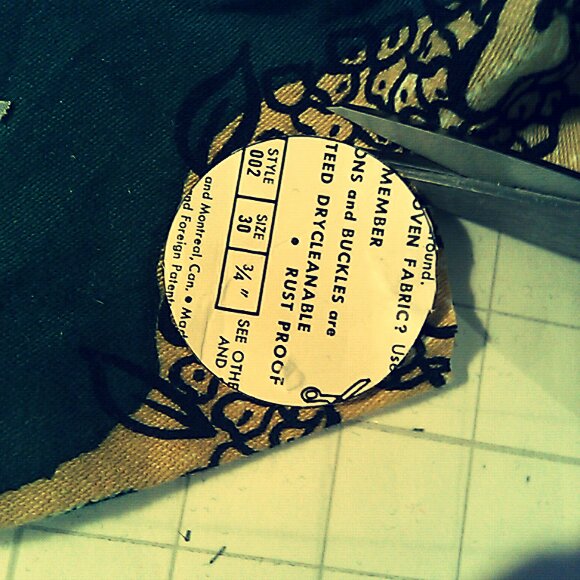
Starting at one of the bottom lines... cut up and around the diamond shape... It should look like this when you are finished... 
Now tape the second segment tabs down... on both sides...

Now fold the top and bottom toward the center again... And again fold in half... 

Fold in half lengthwise again... So... the side view should look like this... (starting from the left) 
tab-flap-tab-flap-flap-tab-flap-tab (I promise this will make sense when your doing it!)
 Starting with one side... Fold the outside flap into the inside pocket... then tape to keep in place...
Then fold the inside flap into the outside pocket.... tape this down also...  
Now you've finished one side credit card pocket...  repeat now on the other half...
When finished... you will have two side pockets....
Two inside card pockets...
Pretty cool... Right...
I know it is a lot of steps... but I promise it goes pretty fast... If my pictures are not helping, you can click here to watch a step by step video... I think these wallets are going be a hit!  The best feature is they are super thin...  I can see endless possibilities...  so if you need a quick gift, you could skip the vinyl part and make these out of anything you have laying around... even wallpaper or wrapping paper...  gifts don't have to cost a lot... just come from the heart... Happy Folding!
***Jennifer